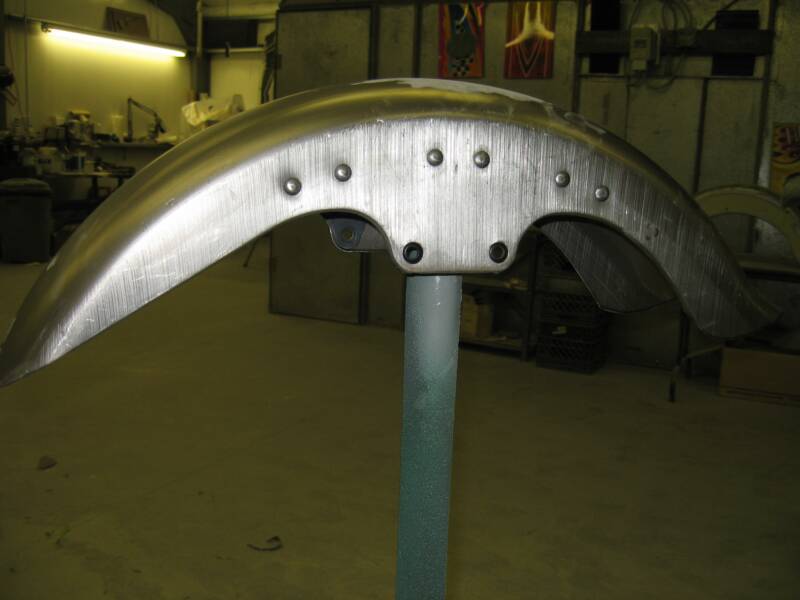
The fatboy fender has great styling, but the rivets have to go.
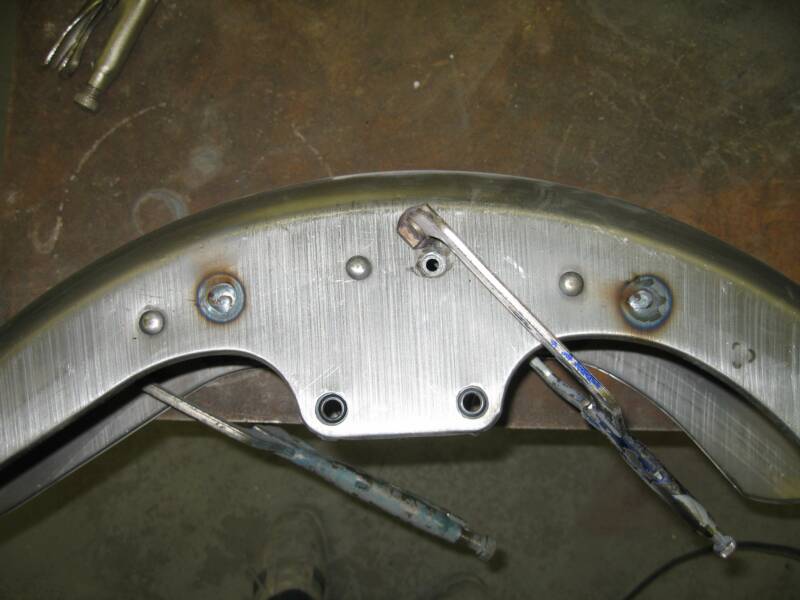
First we grind the heads off the outside, staggering the ones we are going to do first. We don't want to create too much heat in one area, that would cause the panel to warp or twist. Also, notice inside the fender, we ground the back side of the rivet as well.
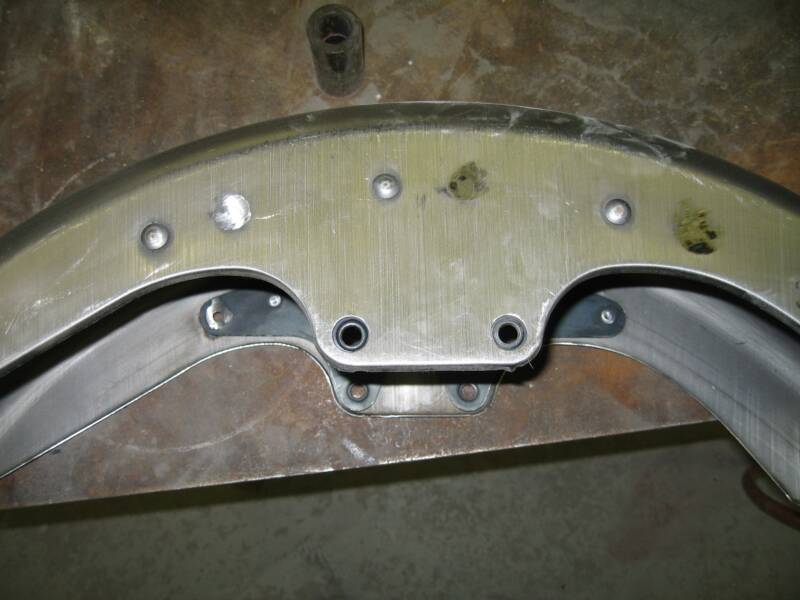
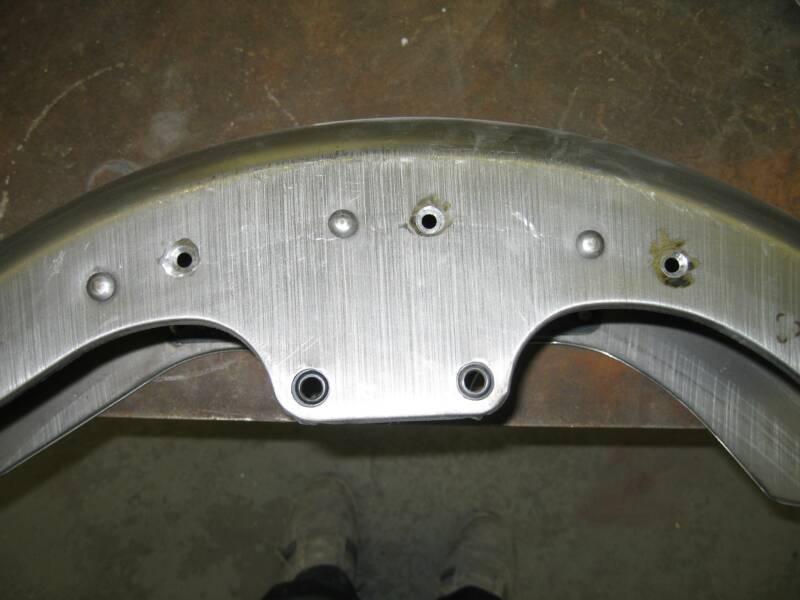
We then tap out the rivets with a center punch and bevel the holes from the outside with a much larger drill. This will help us get better penetration with the inside plate when we weld up the holes.
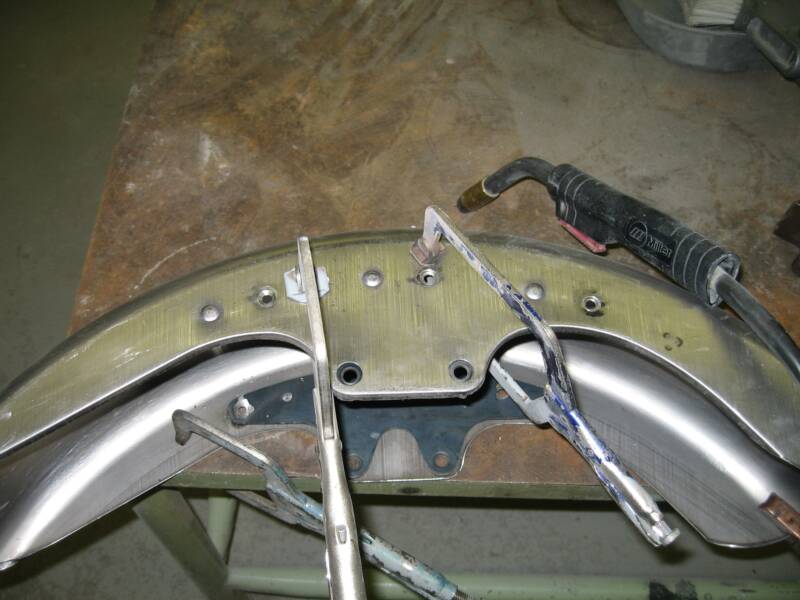
With the inside plate clamped tight to the outside we are ready to start welding. Keeping the clamps close to area to be welded is most important.
When welding , it's necessary to jump around, try not to concentrate the heat in one area. I did these two, flipped the fender over and did two one the otherside, flipped it back over and did the last rivet on that side and back to the other side to finish the last one there.
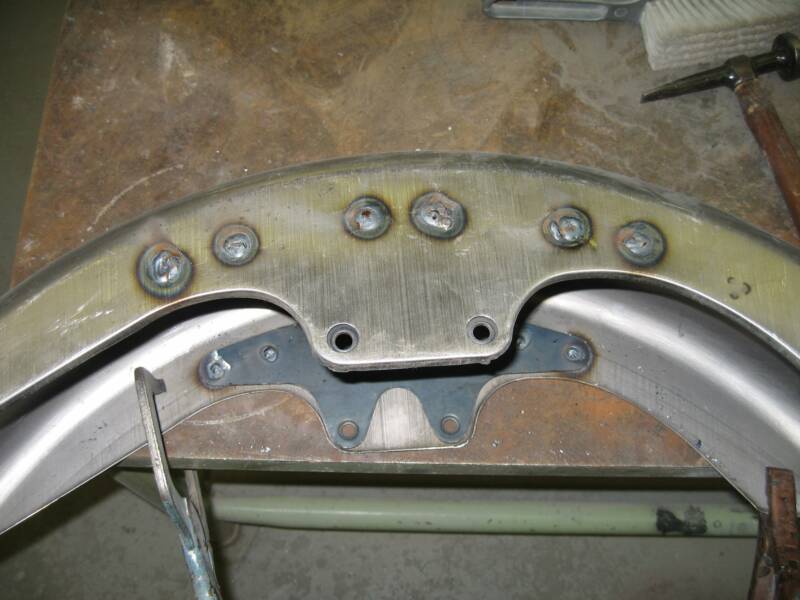
All welded up, both sides. The rivets are history and we're half way home.
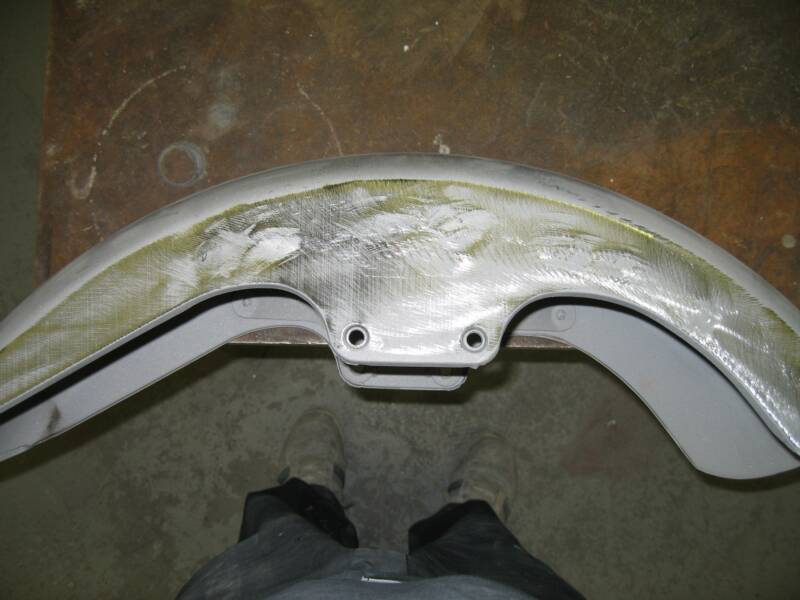
Here we have the welds ground down. Our fender already looks 100% better
Here our bodywork is done, the fender is ready for primer and really taking shape. It will get 3 coats of primer, then blocked with 180 grit paper, 3 more coats of primer and final sanded with 320 grit in preparation for the final finish
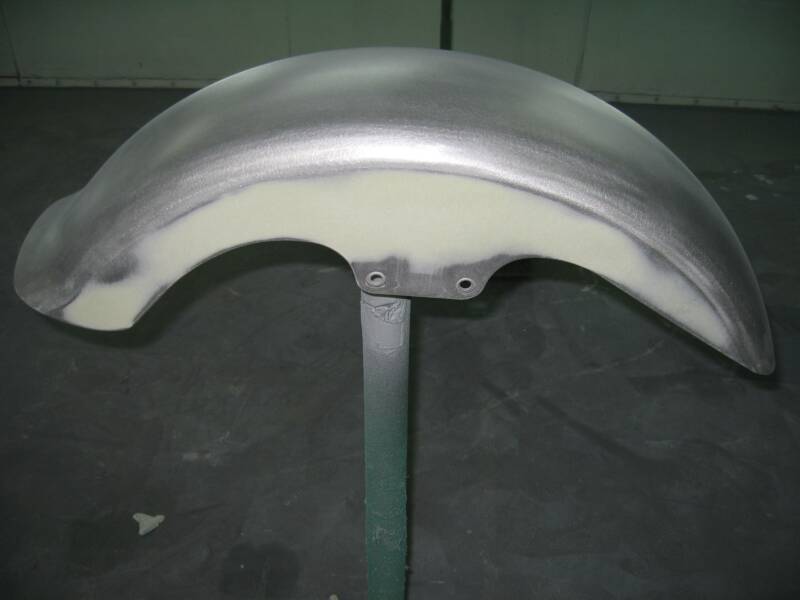
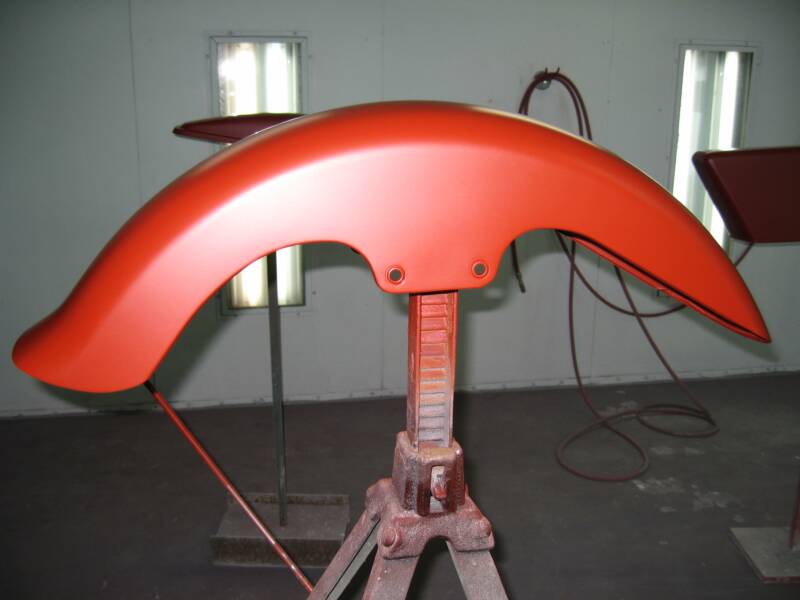
Here's our fender with 2 coats of epoxy sealer, just before we begin laying on many coats of base and candy .That modification really cleaned up the fender and created a better canvas for the artwork to come later.