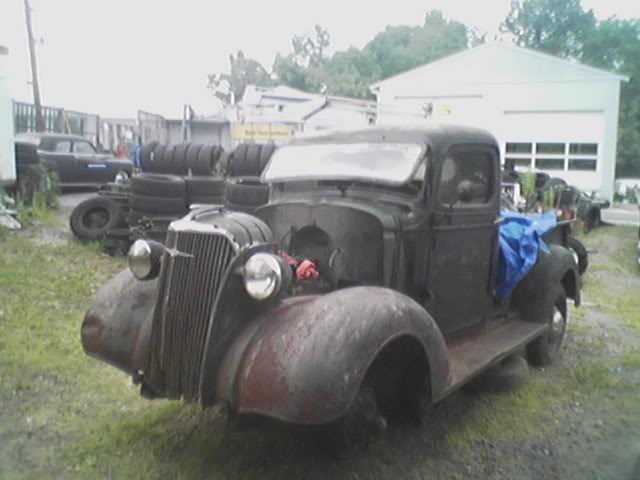


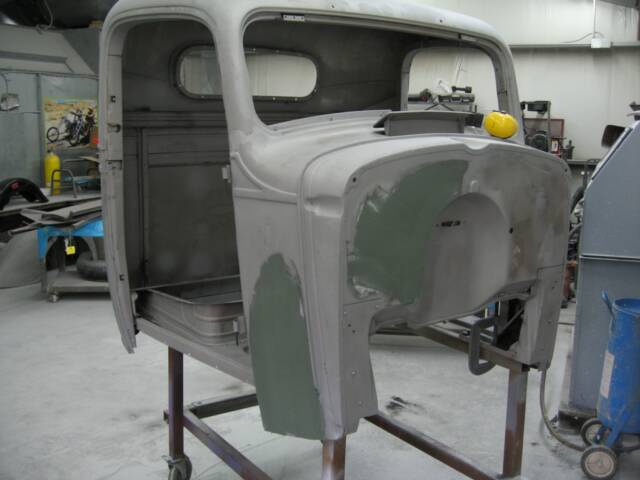
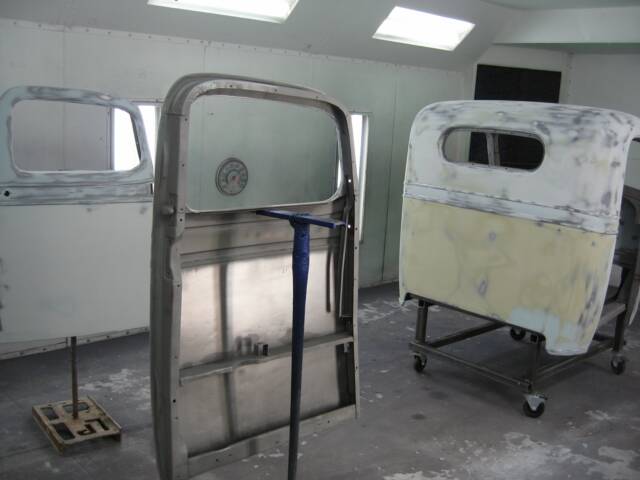
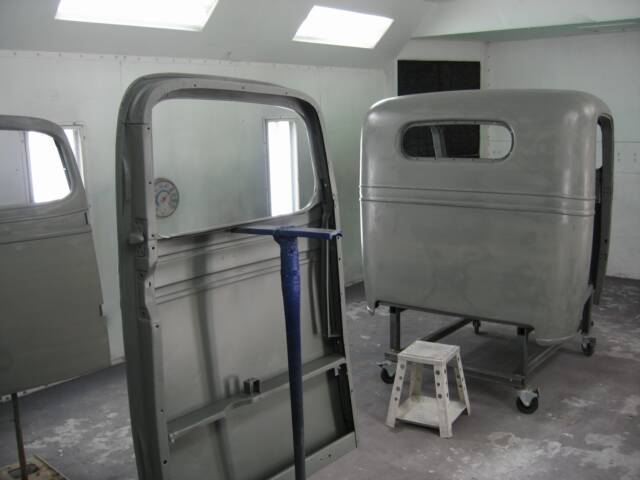
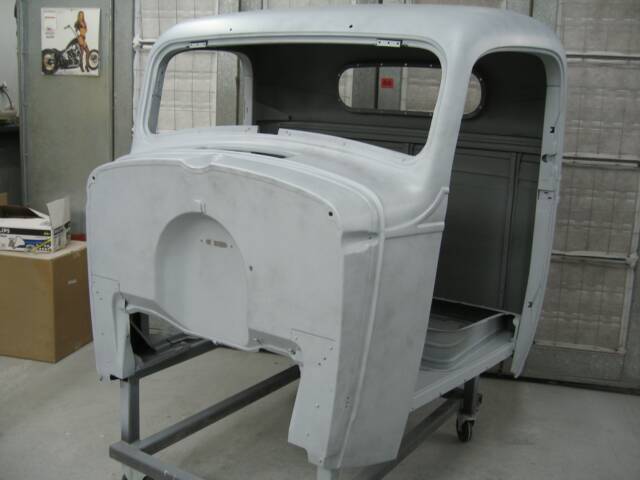
When this job first rolled in the driveway, it was a pile of sheetmetal on a trailer,and stacked in the back of a later model Ford truck, that was hauling it. It found it's way off a farm, when Albin Miller saw it, and wanted it for his son, who would be returning soon from Vietnam.Albin didn't live long enough to see his son's face when he told him about the truck. But when Ronnie returned home for his father's funeral, his Sister and brother told him about that ol' truck, and they went and picked it up. Ronnie made the necessary repairs, to make this ol' truck roadworthy. It was only 30 years old at the time, and not in to bad a shape. Since 1968 it had seen lots of miles and New England weather. Yes, that means SNOW ! Well, it got a patch here and a patch there over the years and a splash of paint too. But, now I was looking at a scrap heap on a trailer. There was lots of rust and flaking paint. It looked like it was all there though,and Ronnie and his younger brother Al wanted me to restore the body, while they took care of the mechanicals. I suggested we start with sandblasting the rust and paint off and see what we have to work with. The truck in the photo above is similar to what I saw that day, only in lots of pieces. I didn't get any photos that day,of the actual truck and I wish I did, because it is come a long way since then.
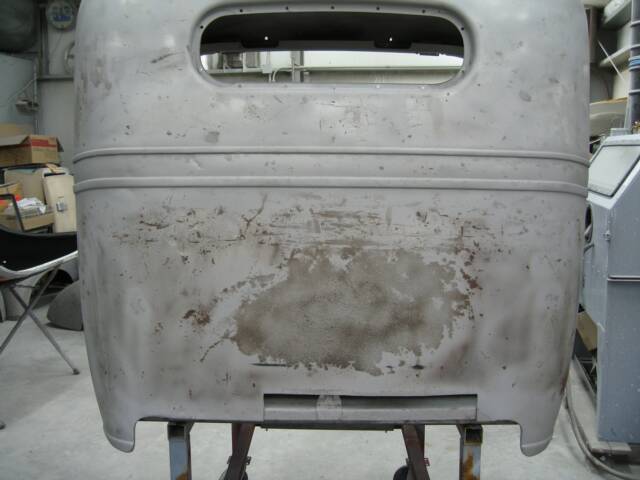
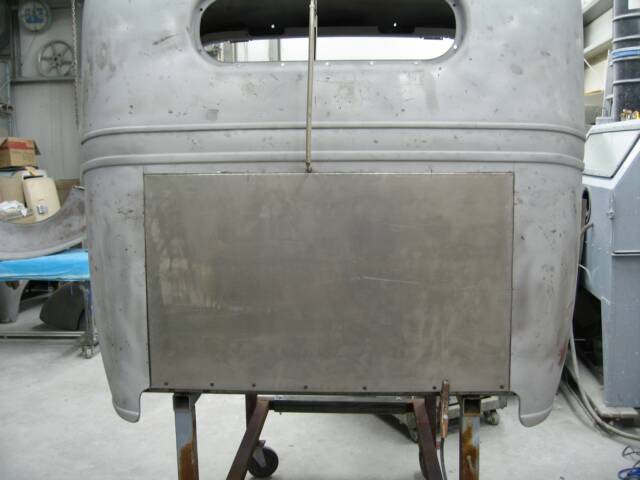
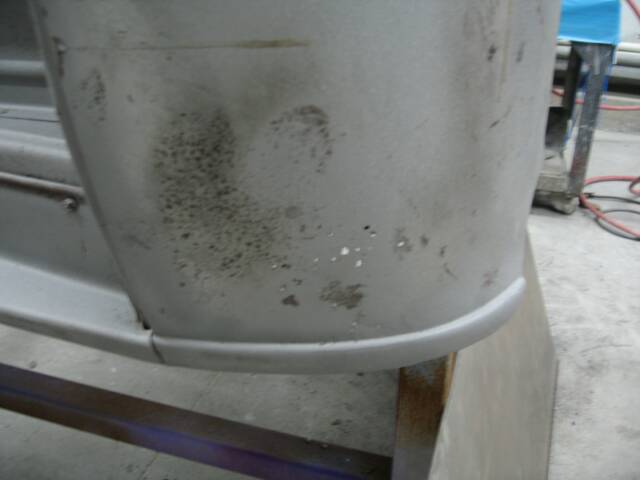
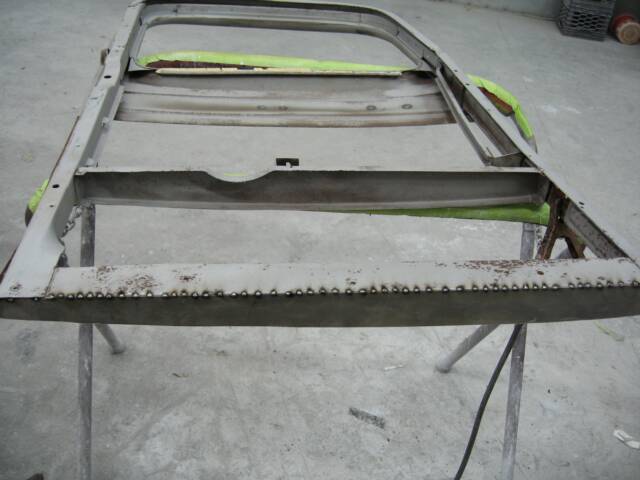
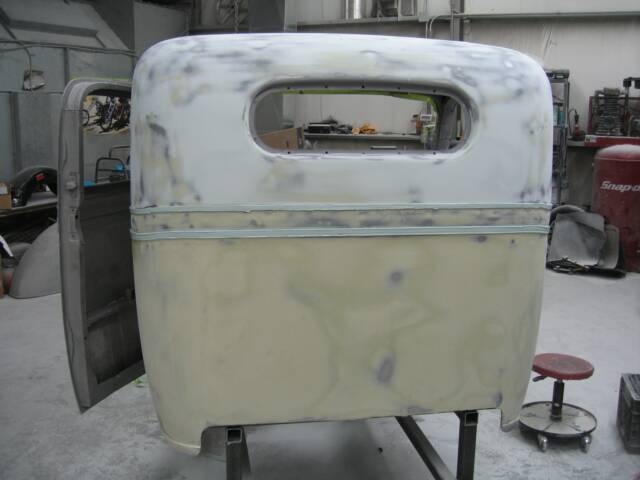
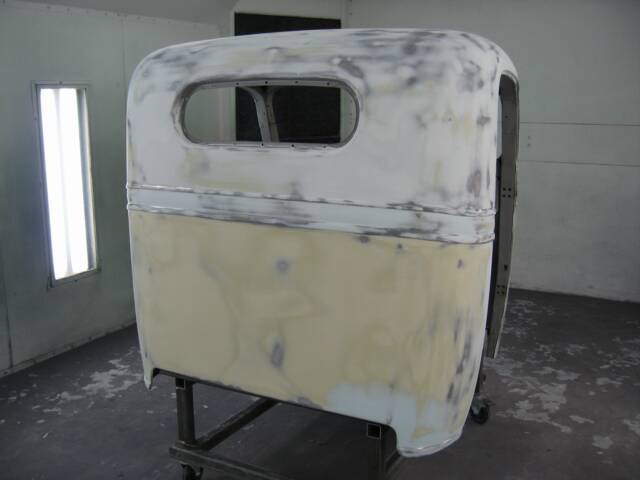
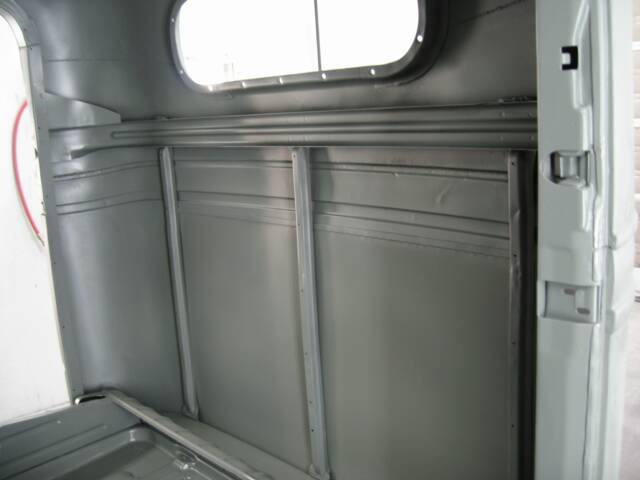
The back of the cab, was shot. The panel had been beaten over the years from material sliding forward in the bed, slamming into the panel. Stretching the metal out of shape and also, the rust had eaten into the metal and made a big portion of the middle, porous.
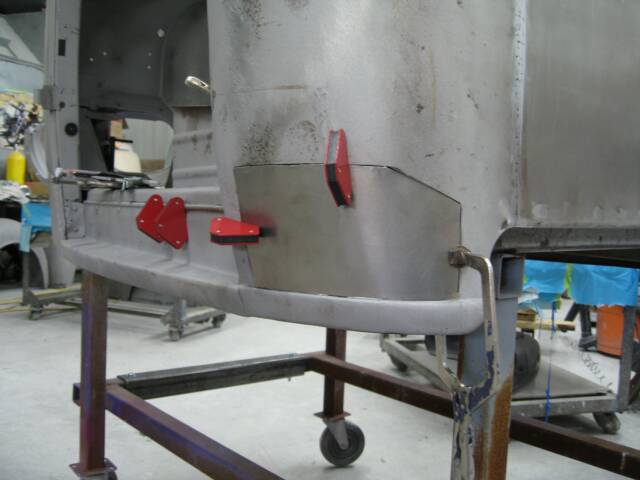
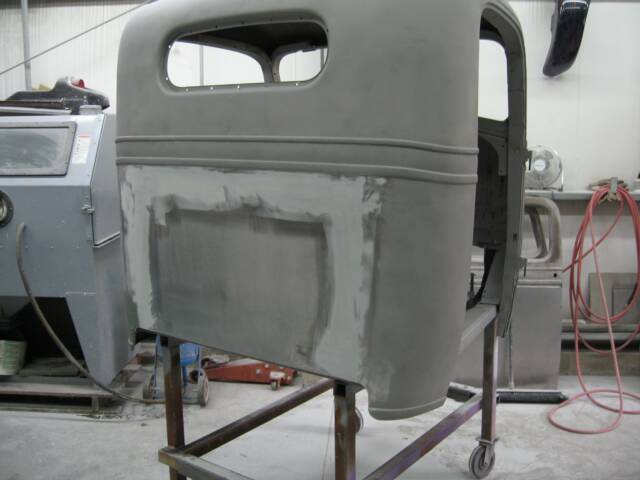
I cut out the damaged panel and preceded to make a new rear panel. But first,there was other damage that needed attention.
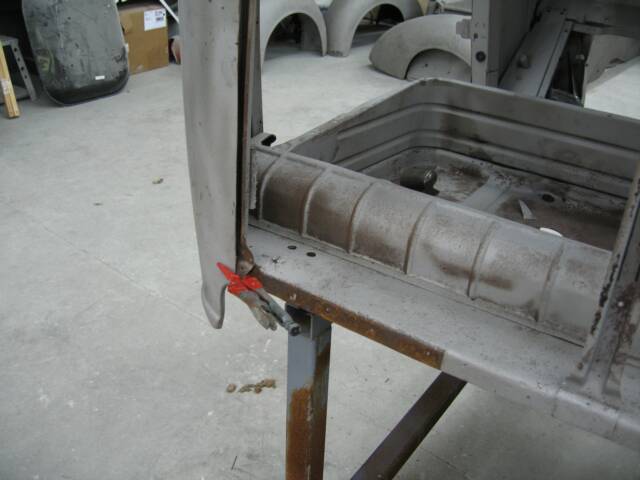
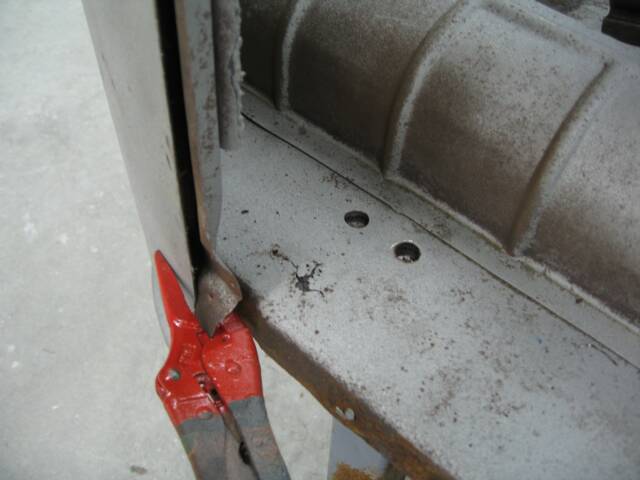
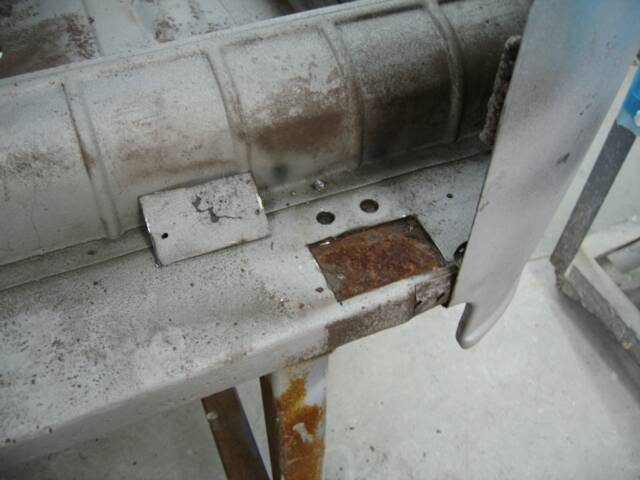
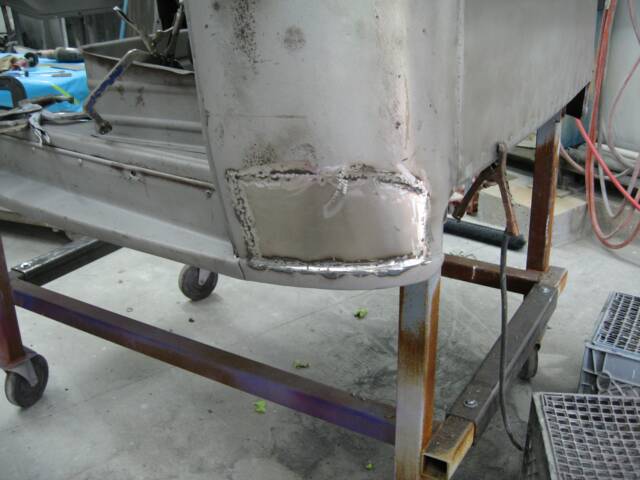
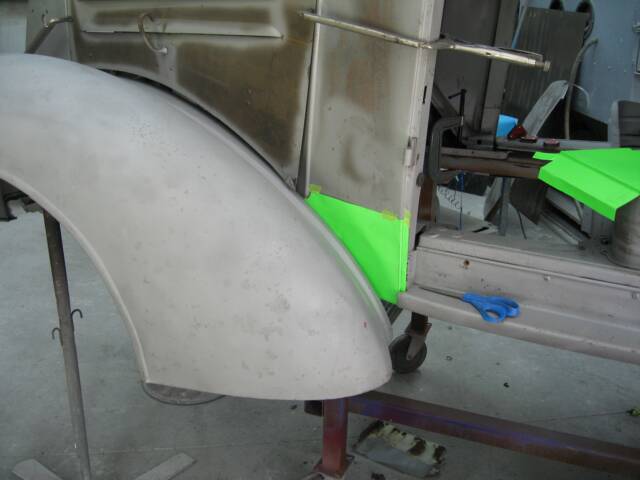
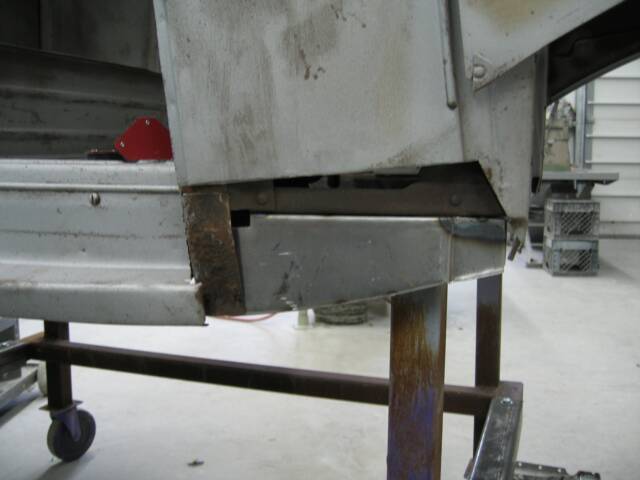
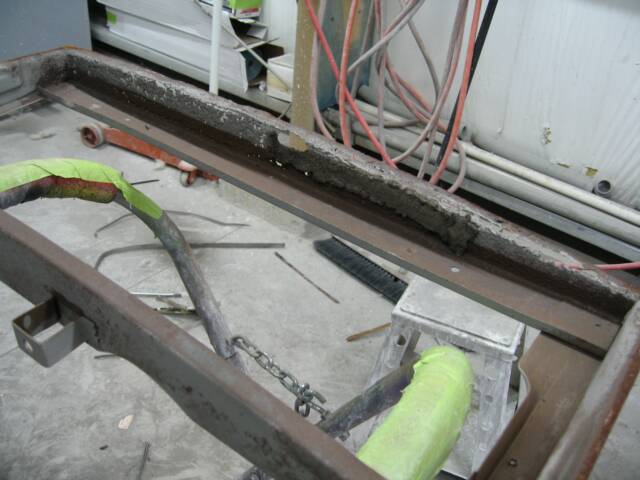
The rear cab mount area had some rust boiling up between the 2 panels that were touching one another. Both sides had the same issue.
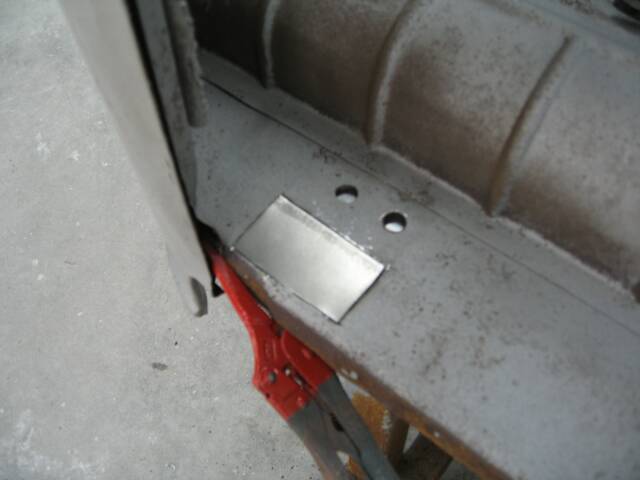
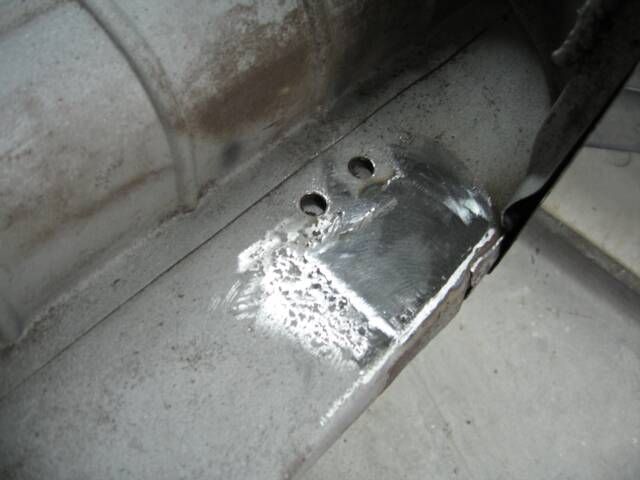
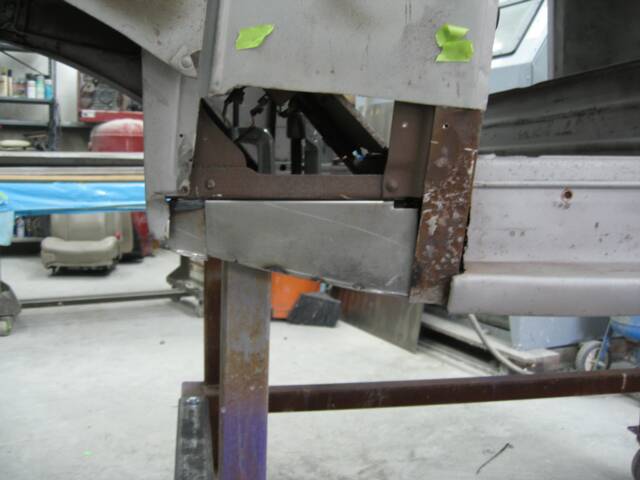
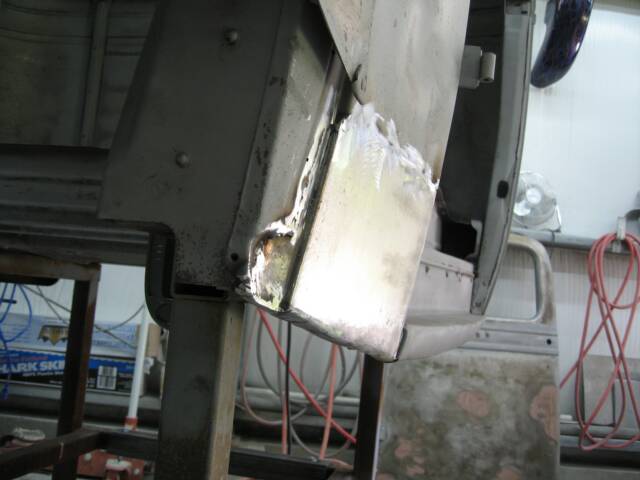
I cut out beyond the rusted area, sandblasted the rust out and fabricated up a couple of patches. Welded them in and ground down the welds flush.
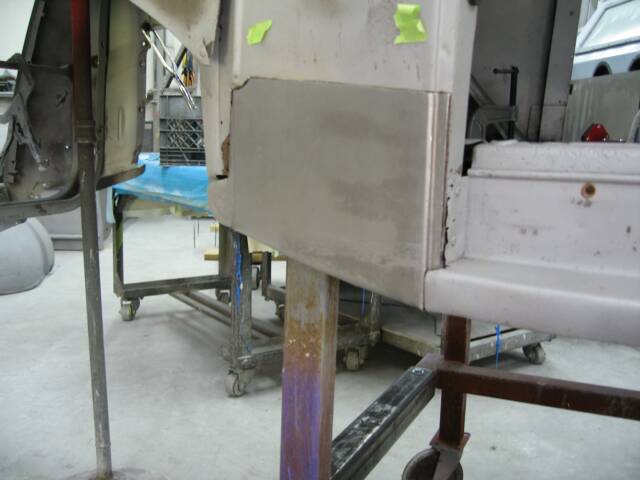
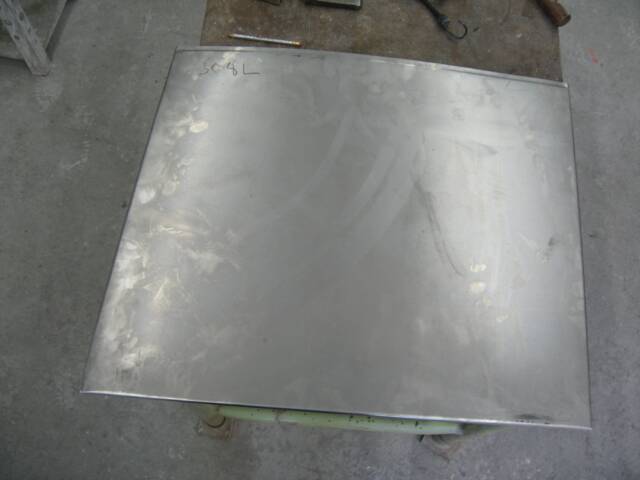
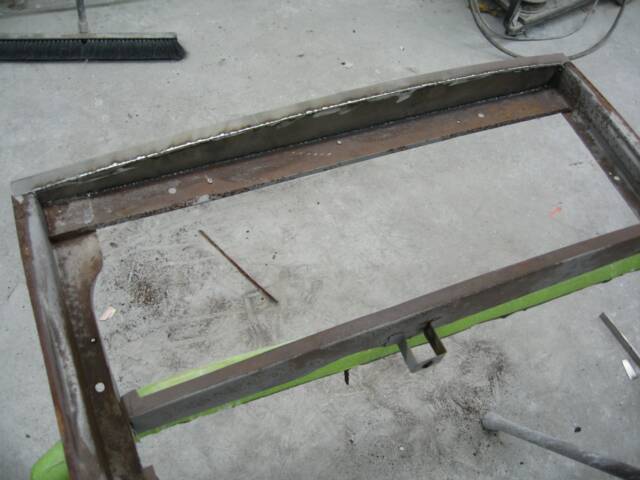
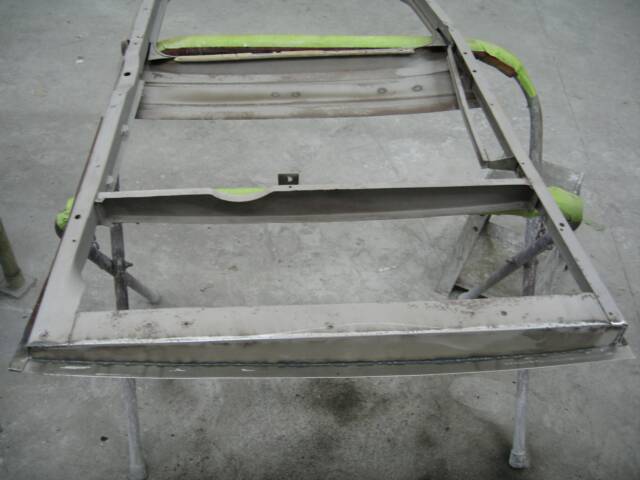
I then fabricated the rear Cab panel. I flanged the top and sides, to go behind the original cab sheetmetal , for strength and a better finish. I finished the bottom, just as the Factory did, back in 1937. Welded it in solid and ground down the welds to prep for finish bodywork.
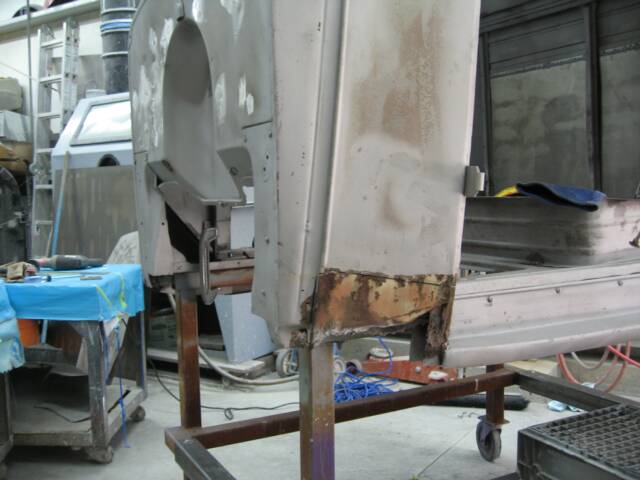
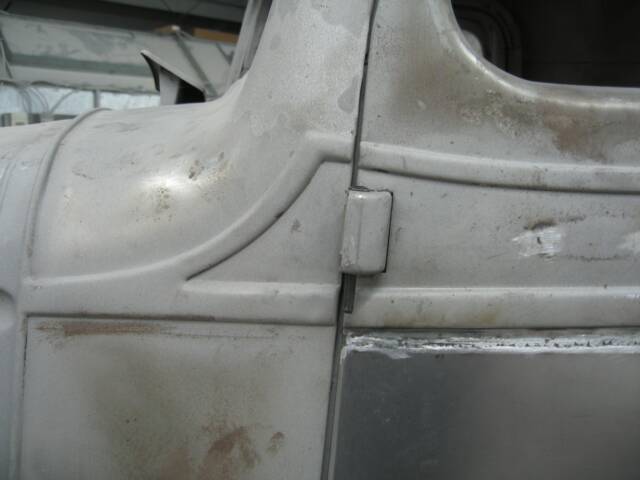
Just around the corner on the drivers side, the cab corner had taken a turn for the worse. Some rot had eaten right through, but surprisingly enough, the right side was fine. So, I cut out well beyond the rusted area again, and Fabbed up a new piece for the cab corner.
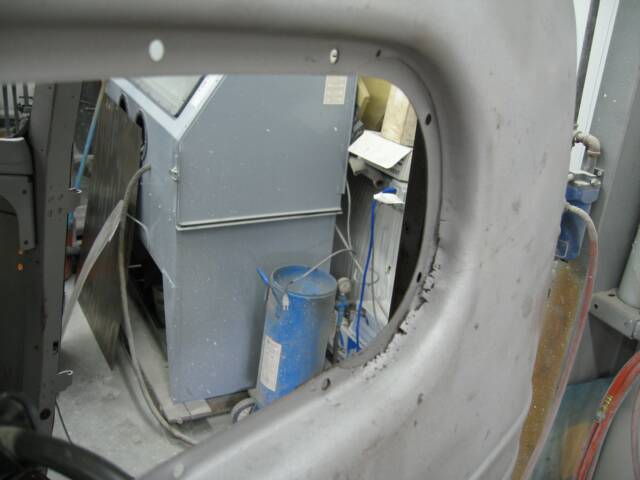
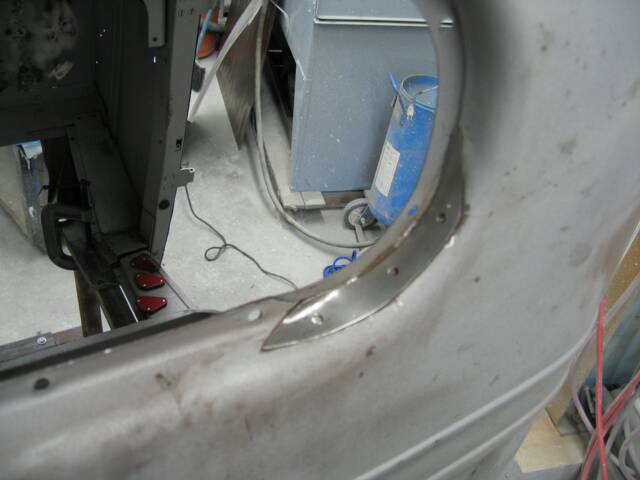
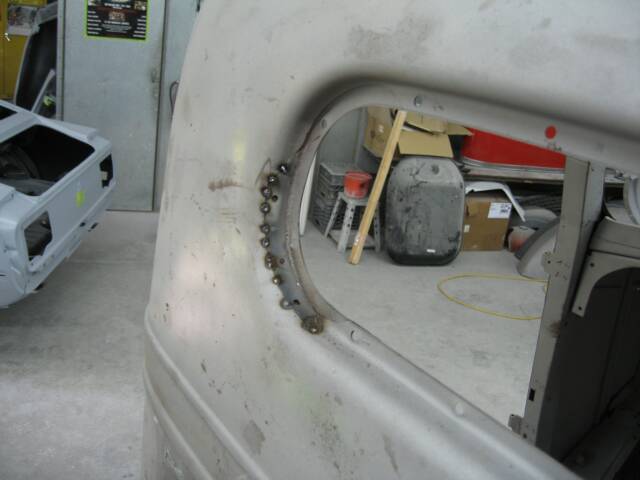
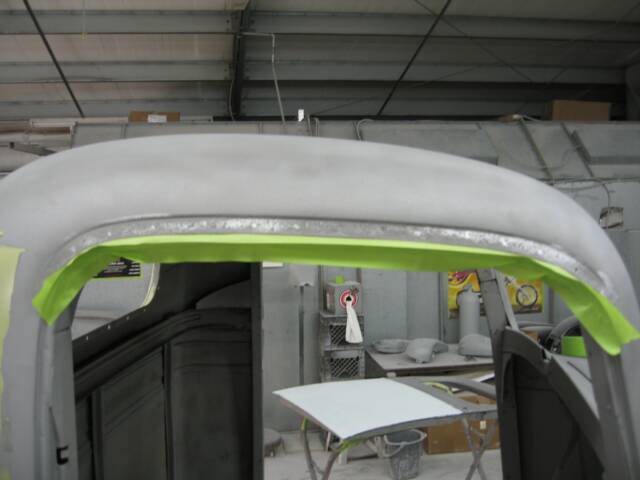
The next area of concern was the rear window surround. It too, had become very porous and needed a patch on both sides.
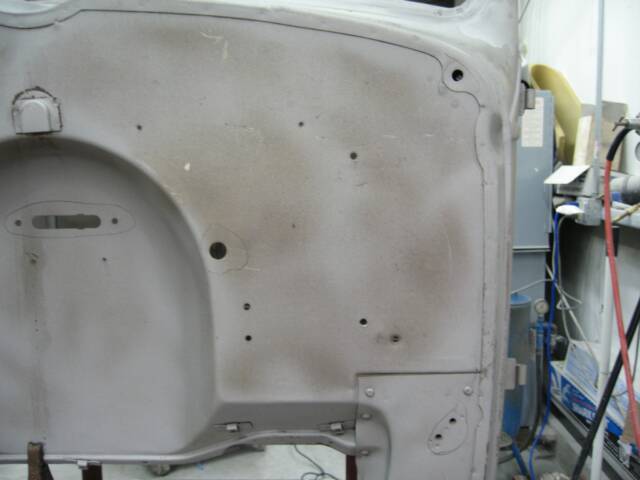
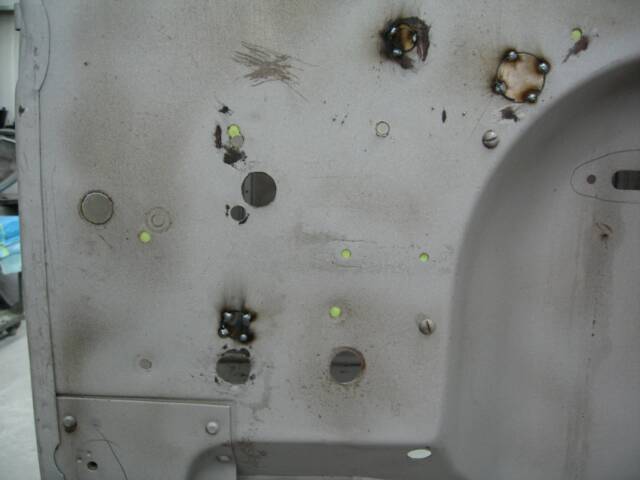
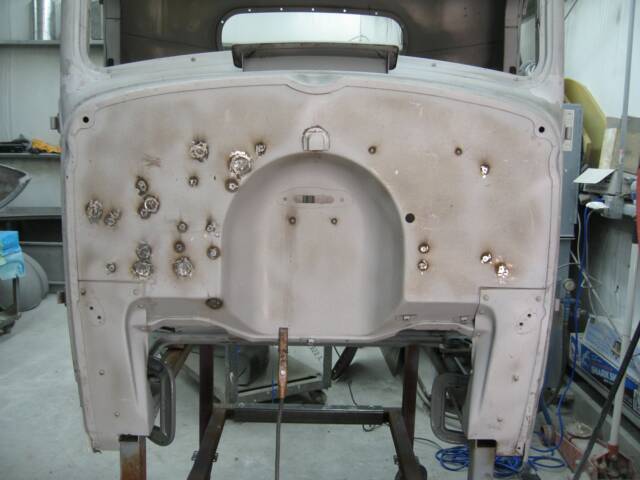
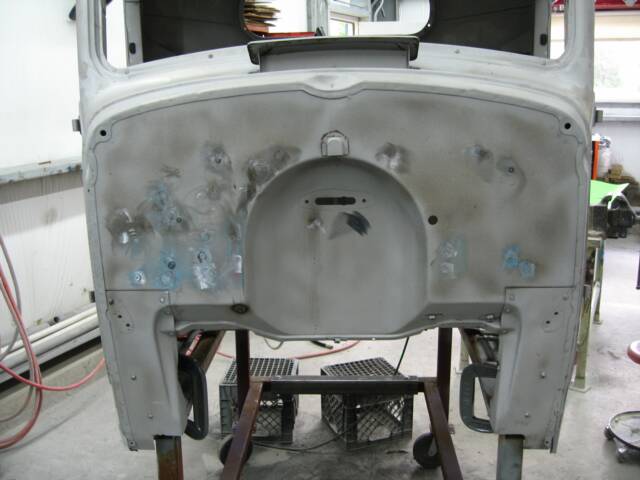
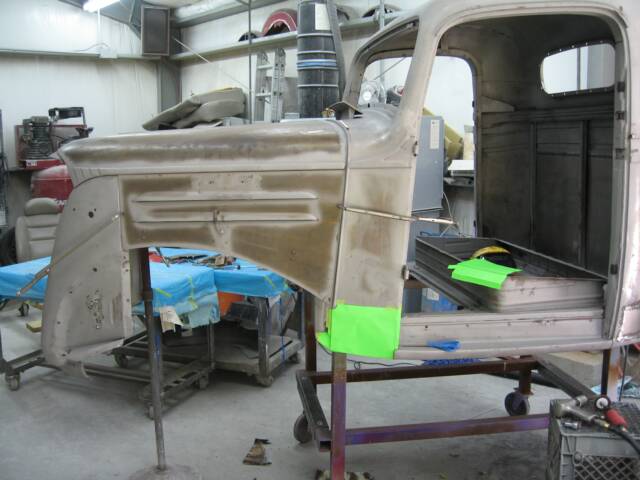
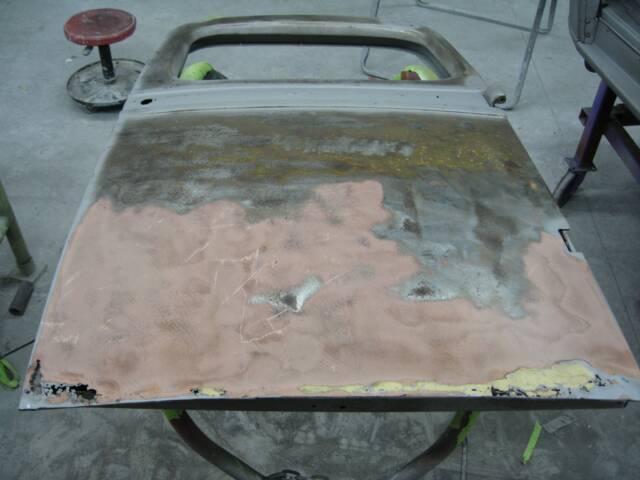
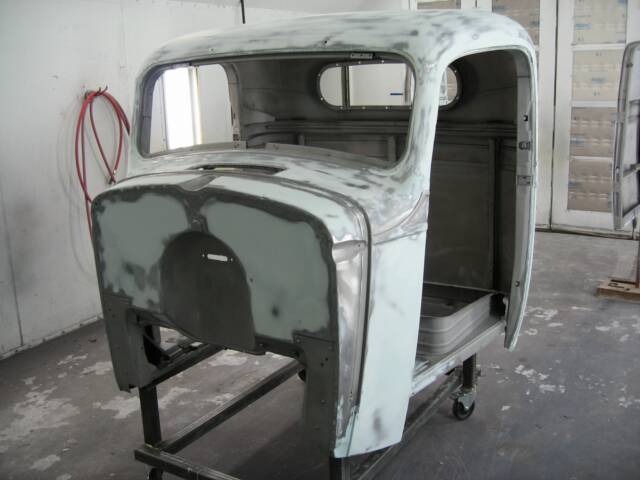
Finally, we make our way to the front of the cab. Here, I am just filling holes,trying to clean up the firewall. This truck isn't going to be a custom street rod, but a hot rodded original. Under the hood will rest the original six cylinder, with dual carbs and a split exhaust manifold. I made plugs for all holes bigger than 3/16, and welded them in.
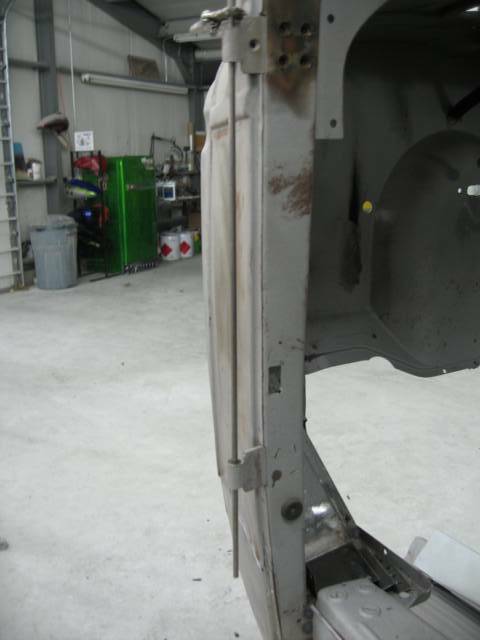
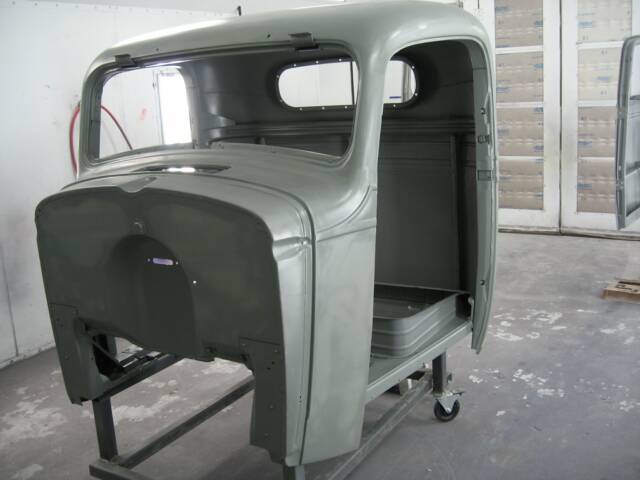
I decided to mock up the front sheetmetal, to get a sense of what the outer should be like. Then I could build the inner so they would fit together, properly.
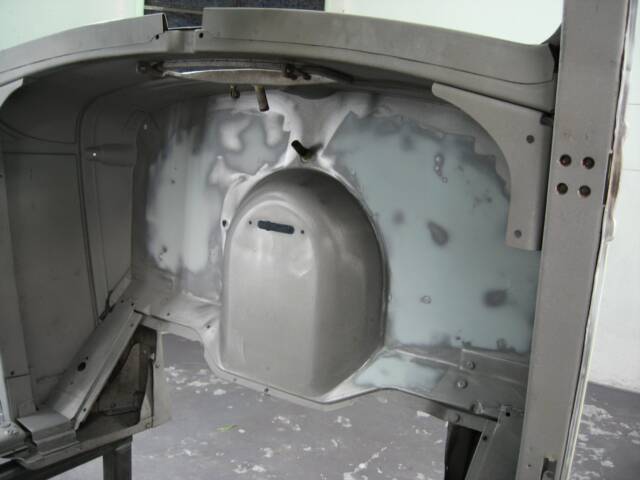
I moved my attention to the cowl section, where there once was a patch riveted . Both sides suffered the same rust. Enough so, that the inner panel, where the cowl gets all it support, was mostly gone. Luckily for me, just the edges were left and with that little bit and my experience, I was able to duplicate what the factory had intended to be the supporting panel, for the lower cowl section.
When making a patch panel, I like to make a template out of construction paper. Especially , if it has a lot of bends. In this case, the same template will work for both sides, you just have to bend it, inside out.
So with the outer panel made, I focused my attention to the inner. Again, I made a template and for that, I formed both sides. I checked to see how the inner and outer would fit together,once on the truck, before welding. They fit together like a puzzle piece, so I welded in the inner panel on both sides and followed with the outer panels
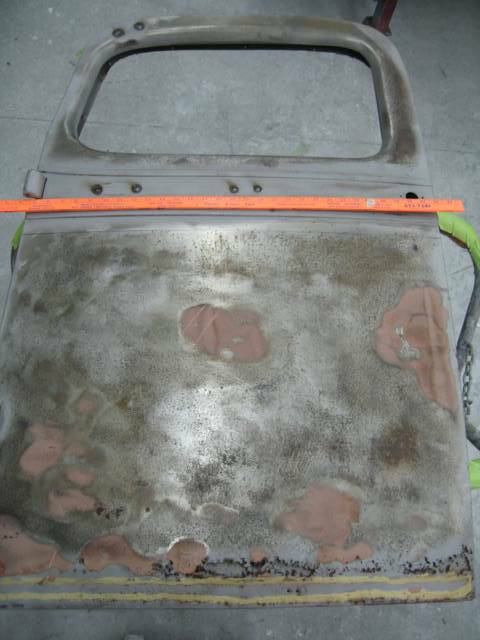
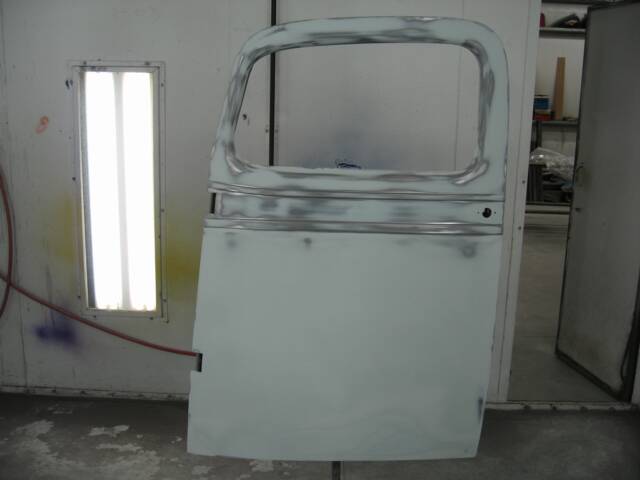
Next, we'll replace this badly rotted, and stretched out door skin. The bottom of the door shell will be repaired also, due to the porous condition of the steel.
With the old door skin off, I'm ready to begin rebuilding the bottom of the door shell. It really looks like swiss cheese, and there's not enough steel left to weld to, if I had to. This will require two individual pieces welded in separately.
Both doors are in pretty rough shape, but not for long !
The 2 pieces I refer to are, the bottom of the door shell and the flange the skin will be hammered over, as you can see here. After it was tack welded into place, I continued to finish welding it solid. Then ground all the welds smooth .
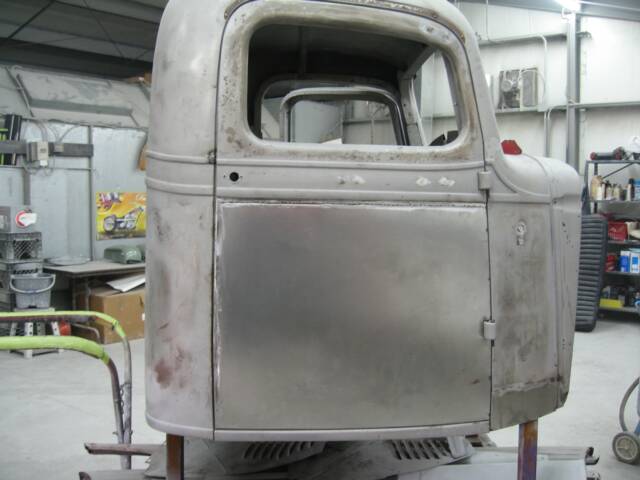
Before mounting the skin, I sandbalsted the rust off the inside of the door. Especially, the mating surfaces that will contact the door skin. You'll notice the inch below the belt line, where I made my cut. That is because I flanged the skin, so the top portion of the skin would go behind the original door skin, for added strength. I then tucked the top under as planned and began folding over the pre-bent lip, around the door shell.
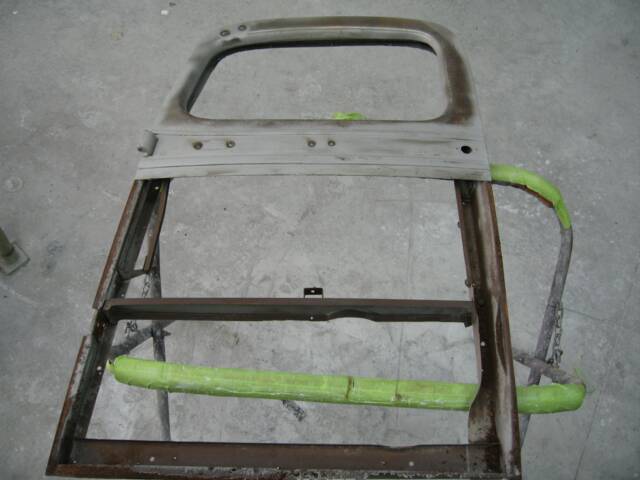
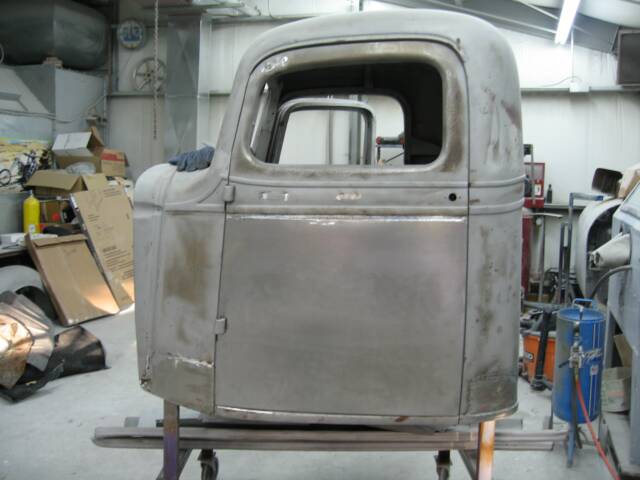
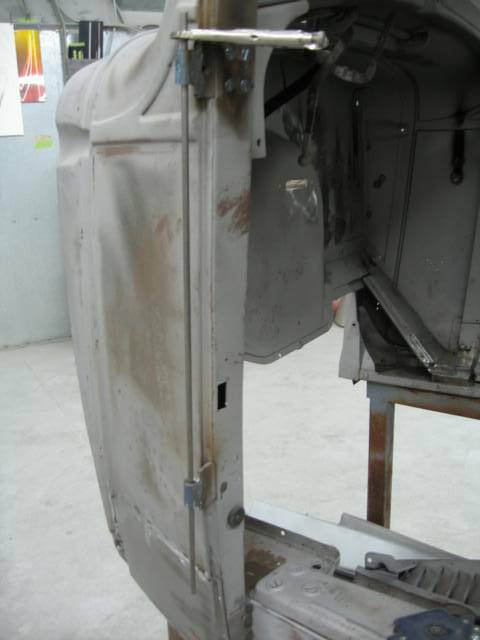
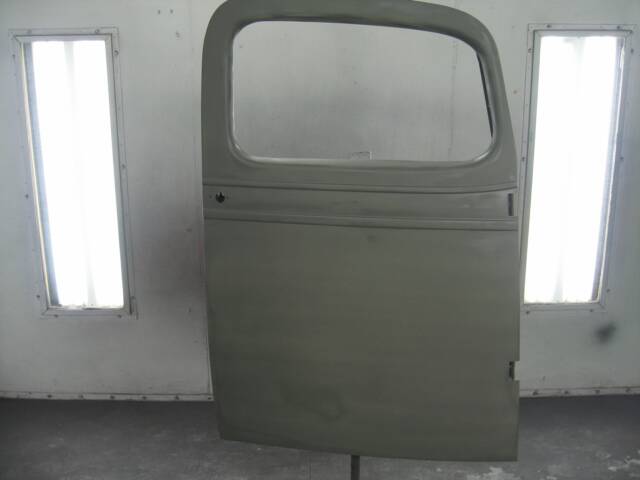
Here's a picture of the doors installed again, with new door skins. Ready for finish bodywork.
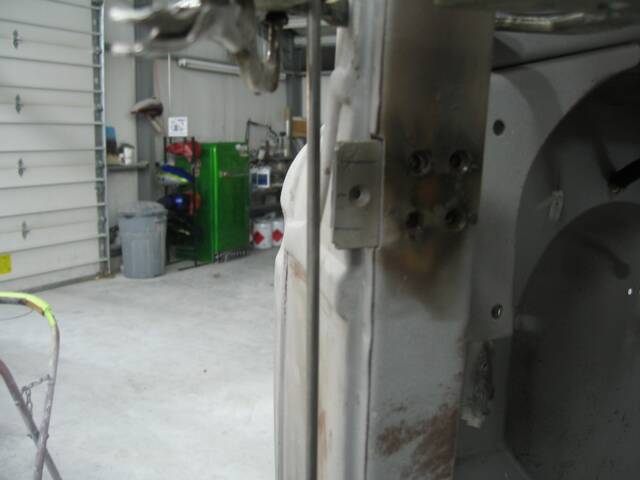
It's at this point, we have to tackle another issue.Years of use have made the doors drop, about an 1/8th inch. It doesn't seem like much, but left unrepaired. it is sure to be an eyesore, in the finished restoration.
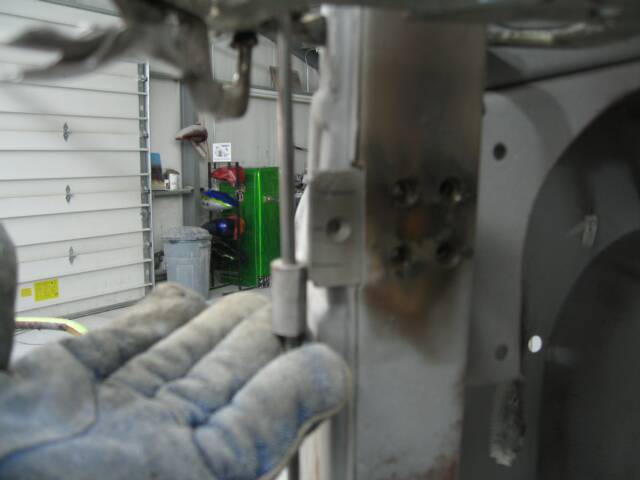
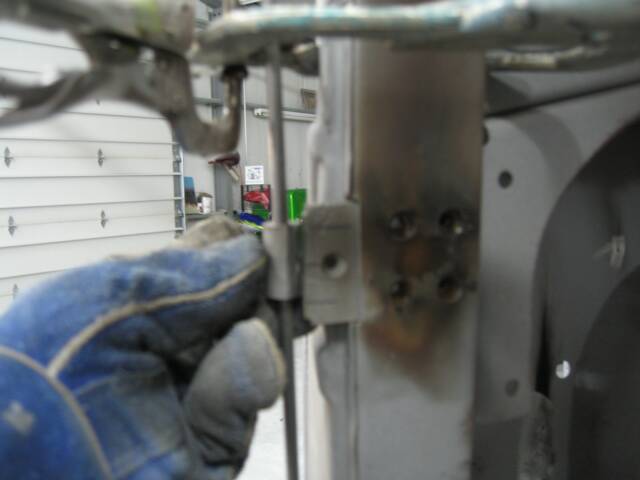
I chose to modify the hinge itself, in order to raise the door. I'll only need to do the half of the hinge that is bolted to the cab. One precaution we'll have to take, is to make sure the hinge pins will remain aligned.Otherwise, we could get some hinge bind. That's just what it sounds like, you open the door and it feels like it's fighting you. The best way to avoid that,is to run a piece of 1/4" rod through both hinges, and stabilize the rod, so it doesn't move. Now I'm ready to cut the sleeve off,from the flat mounting surface of the hinges.
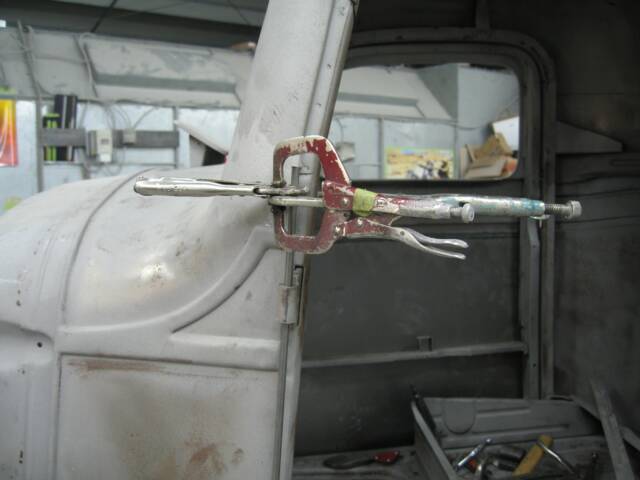
I made some reference marks on the hinge, so I know exactly where to reweld the sleeve.With the rod secured in place, the sleeve will slide perfectly into place.
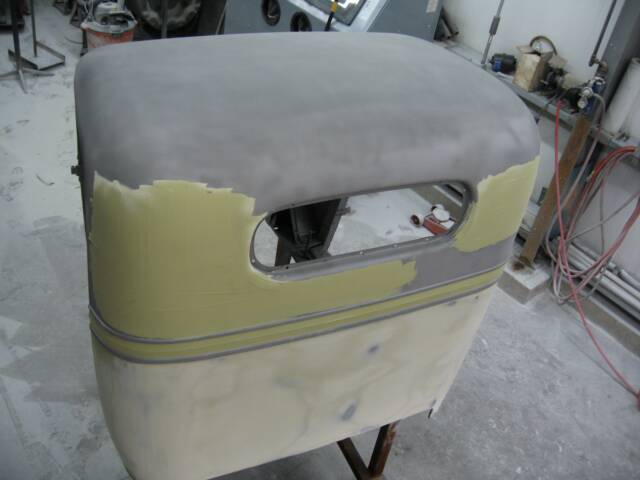
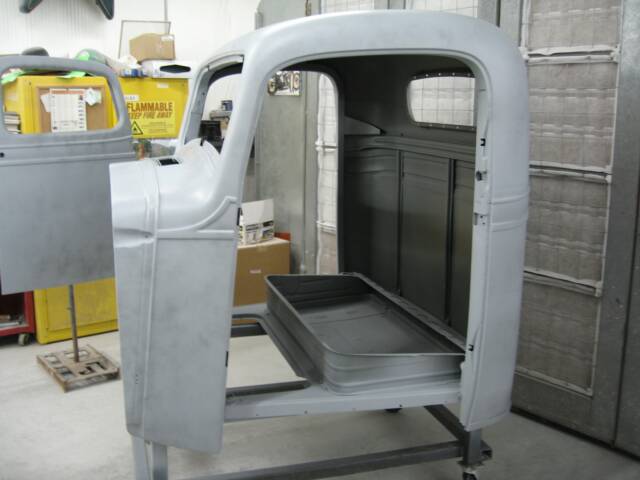
With all the metalwork on the cab and doors done, I sandblasted them one more time, before starting with Filler. This cab had some deep pitting of the metal, as well as a lot of small imperfections all over it. Blasting will remove what's left of rust and provide a good grip for the Fillers that will be used to smooth it all out. We also decided to do away with the drip rails on the cab,the recess that was left was only a 1/16" deep, so we'll just fill it. First I started with a coat of Duraglass, over all the welds. Duraglass is water resistant, and in case I missed a pinhole in any welds, this will prevent any water from coming through and starting a problem under the paint. I follow that with plastic filler, completely covering the whole cab and doors, so there are no waves, dents, or pitts.
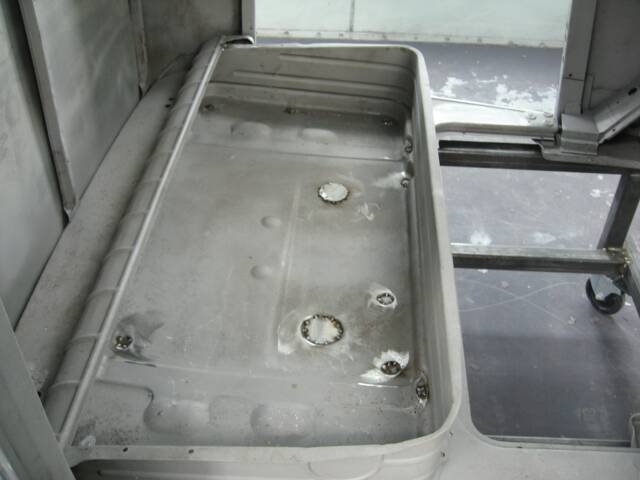
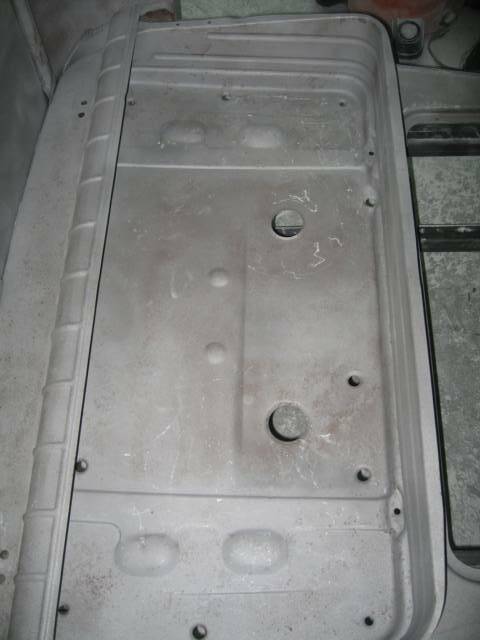
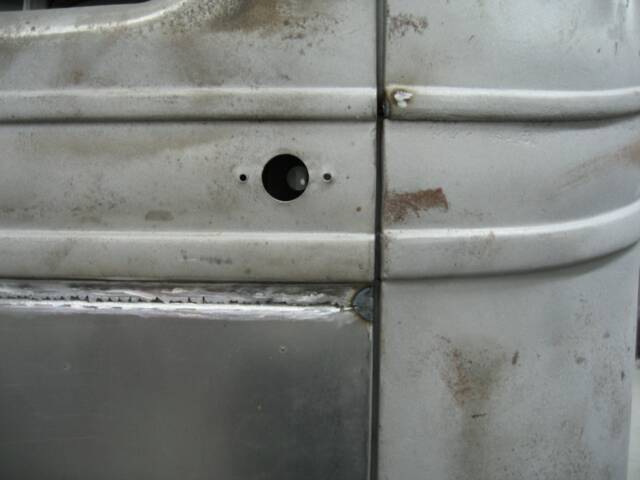
The original Gas Tank sat underneath the seat. We're gonna' be moving it under the bed, between the frame rails. I tacked some plugs in place, and after I apply the Epoxy Sealer, I'll chaulk them.
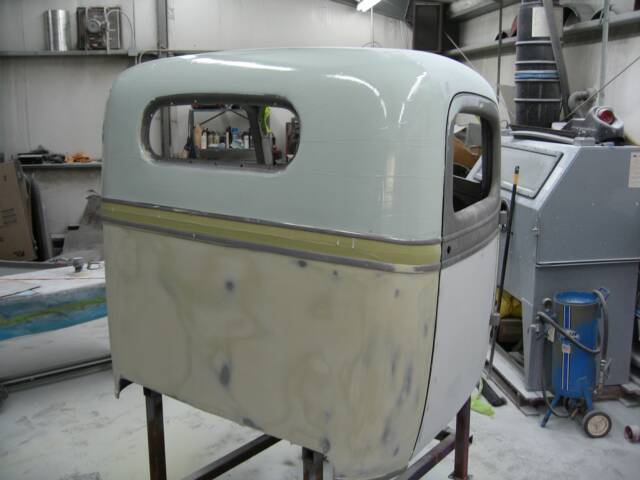
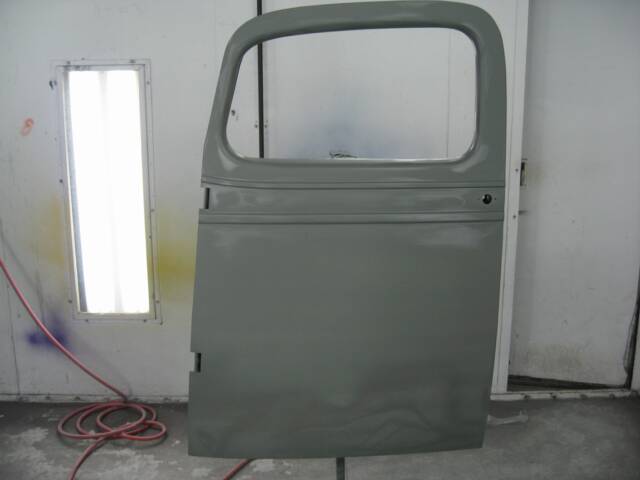
With all the bodywork done on the cab and doors, it's moved into the Spray booth for 2 coats of PPG DP40LF Epoxy Primer Sealer. This provides corrosion protection at this stage and also color holdout, when used as a sealer, before paint.
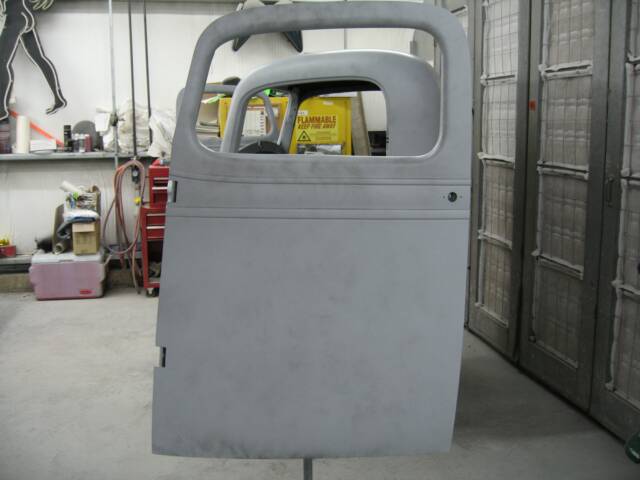
That gets followed up with 3 coats of PPG K38 High Build Primer, and a light guide coat. Guide coat, is a dusting of basecoat black. That will aide in finding any imperfections, when we go to blocksand the primer.